Clique Kits

Click. Connect. Create.


Leave a comment

Yearbook – Explore

13708352_10206587466700644_3123589168410663782_o

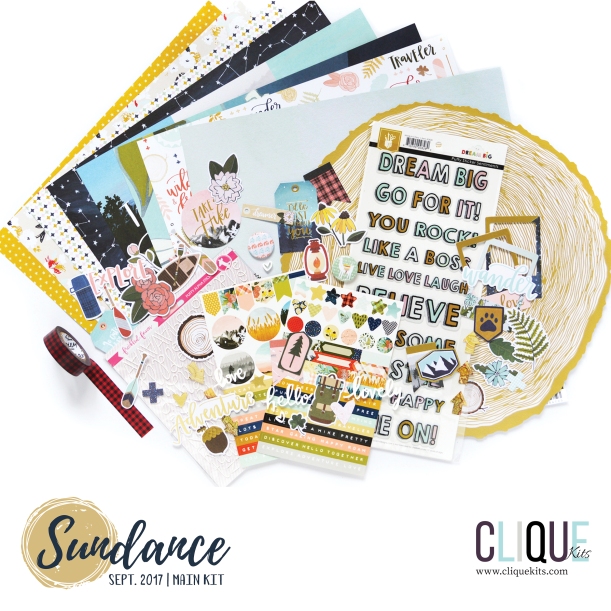
Hello, Clique friends. Today I’m bringing a new layout created with the gorgeous September Sundance kit.
CK_Sep17_MainKit-24

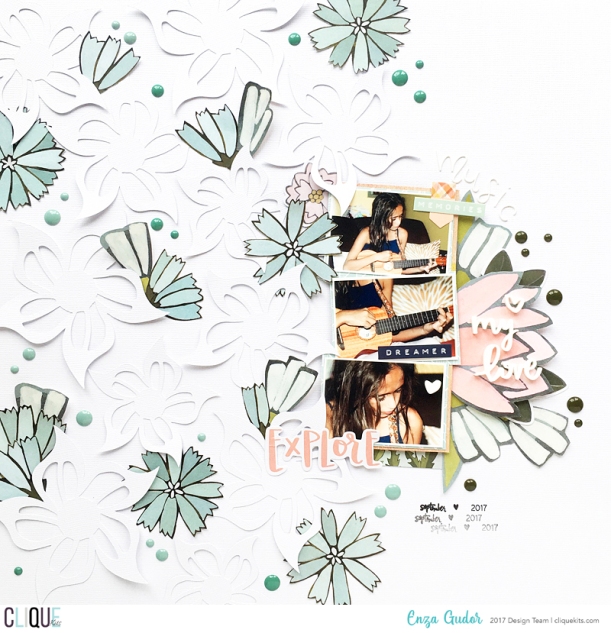
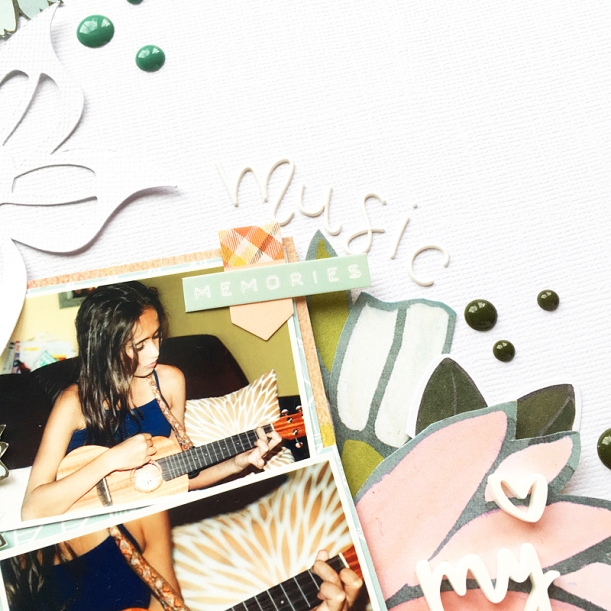
My goal for this page was to include multiple pictures. Although I tend to make one-photo layouts, sometimes I feel like that is not enough to document a story or capture the little details. Here you can see my oldest daughter playing the ukulele. I love how focused and passionate she gets every time she plays. Nothing can distract her! Those three pictures needed to go together on one page 🙂 I reduced their size to measure about six inches in length all together. It was like working with one 4×6” photo.
egudor_September15_Yearbook

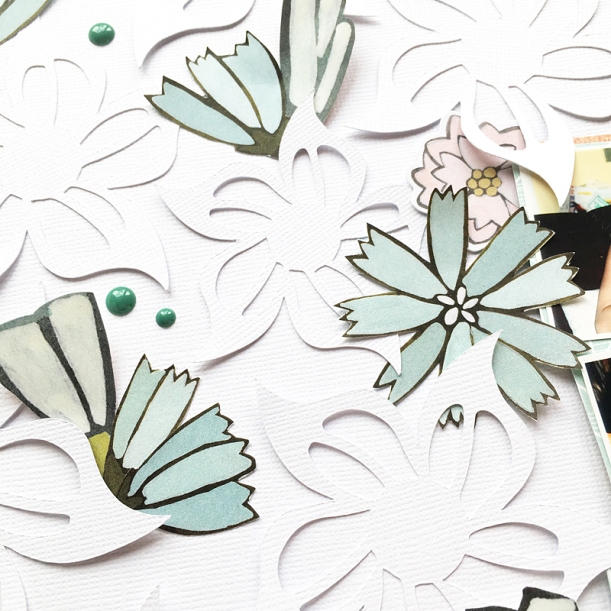
I started by fussy cutting several flowers from one of the 1Canoe2 patterned papers that came in the kit. I was planning on having a white background and wanted to include pops of color and dimension by adding those cut outs here and there. To bring in more interest, I decided to use a cut file from my stash to cover a little more than half of the page. I love the tone-on-tone look. It is subtle but definitely noticeable.
egudor_September15_Yearbook_CloseUp3

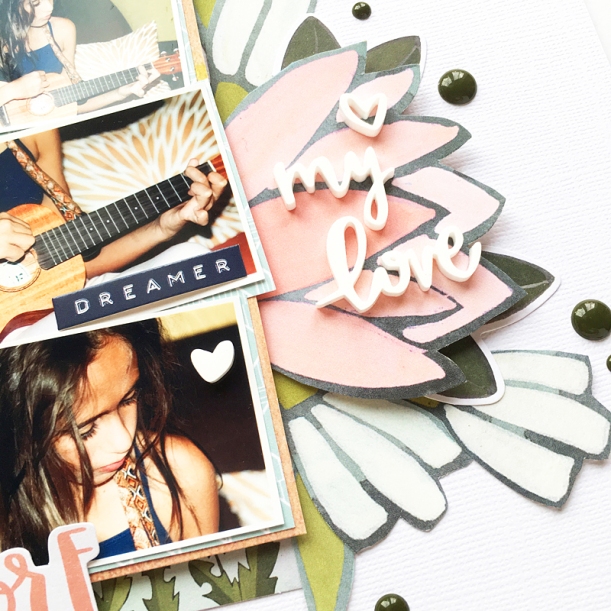
I adhered the three pictures together on layers of card stock and popped them up with some foam. The leaves and additional flowers you see on the right-hand side were fussy cut from another paper in the kit. I like how the pink brings in an extra element of color. It also created the perfect spot for the acrylic words and heart. Enamel dots finished the layout.
egudor_September15_Yearbook_CloseUp1

egudor_September15_Yearbook_CloseUp2

I hope this has inspired you to get creative with your kit and include multiple photos on your pages. This kit is absolutely lovely and very versatile. Get yours before it’s gone!

Thank you for stopping by! Have a great day!

Enza


Leave a comment

Study Hall: Enjoy

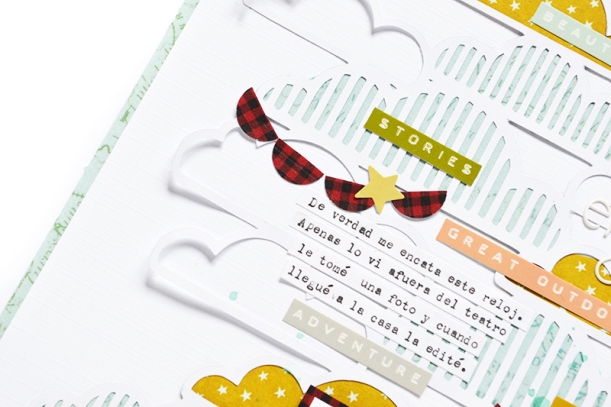
Hello, friends! Maryám here to share with you a closer look of the layout I made for the challenge of this month. If you didn’t see it, the challenge for this month is all about highlighting fun ways to use the plaid washi tape that came in this month’s kit. We also have an optional sketch created by Kristine Davidson. Check out all the details about the challenge here.

 When I got my kit I had no idea of how to use the washi tape but after some hours thinking I decided to put it on a white cardstock and punch some circles and then cut it in half to create some cute garlands for my page. I really liked the result I got.

Here is my final page:

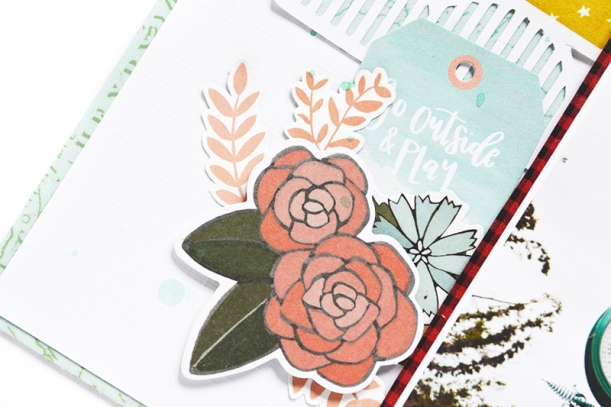
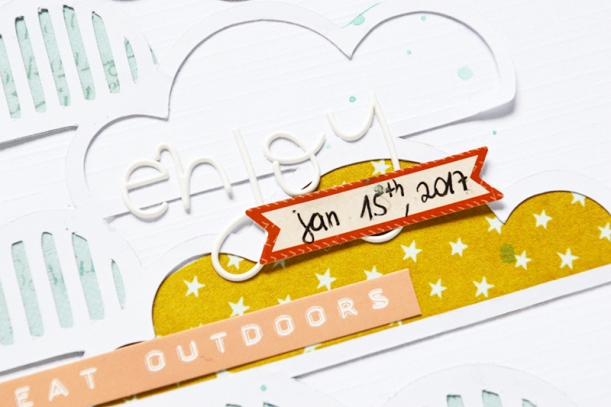
Here are some close-ups:

I hope you liked my page and I can not wait to see what you will create with the washi tape of this month. Don’t forget to join our facebook group to participate in our challenge.

Thanks so much for stopping by today!

Have a wonderful day.


4 Comments

Yearbook – 6 Kits

13708352_10206587466700644_3123589168410663782_o

Hello! Here Réka is today with you, and I have a layout with multiple pictures to share, featuring the gorgeous ’Sundance’ Traveler’s Notebook Kit.

I think I am not the only one who takes a photo of your own kit. On this layout I have documented my last 6 kits which have arrived to me.

Let’s see my layout.

0-0

Firstly, I have created one rosette using the Bon Voyage 4×6 Paper from Pretty Little Studios: Wish You Were Here Collection and I added the Clique Kits sticker on it and this was the title of my layout. After I have put the photos around the rosette and I have also embroidered them around. For the photos I have adhere the month words from the January 2016 printable.

6

I have cut some stripes of fringe patterned paper and I also used my fringe scissors to add more texture to it and finally I sewed then at the top and the bottom part of my layout with my sewing machine.

4

The last step was to add some embellishment from the ’Stop Here’ and the ’On the Go Word’ Stickers. I have fussy cut the leaves from the September’s printables. I really love these colors of these leaves as you may know from my previous post.

3

I love seeing this 6 kits together.

Hopefully, I managed to inspire you to using multiple pictures on your page. Thanks for stopping by and have a wonderful day! See you next time. RĂ©ka


4 Comments

Locker Room: Summer 17′

Hello, friends! Maryám here again to share another layout made using the Malibu kit 2017. For the main element of my layout, I used an old cut file from CK and I cut it on the paper N°8 with my Silhouette Cameo, and then I added some hand-stitching to it.

Here is the result: What I’ve done basically was add a bunch of embellishments around the wreath, then put my photo, the journaling and at the end add some watercolor splatters. You will see the haul of the process in the video at the end of the post.

Here are some close-ups:

Here is the process video. If you have any questions just let me know.

Thanks for stopping by today.

Have a wonderful day!


3 Comments

Geek Lab: Yes is more

Hello CK friends! Today I’m going to share a layout using the beautiful Agust 2017 Malibu kit. This month we have a lot of digital exclusives, and of course, I had to use them!

Here is my layout: I used the beautiful scallop cut file as my background and I backed it with the paper N° 10. After that, I put my photo, I created two clusters of embellishments around my photo, adhered my title and the journaling and at the end, I added some splatters and some sequins.

Here are some close-ups:

I hope you liked my layout. If you have any questions about my page, just let me know in the comments below.

Have a wonderful day!


3 Comments

Yearbook: Reach for the sky.

13708352_10206587466700644_3123589168410663782_o

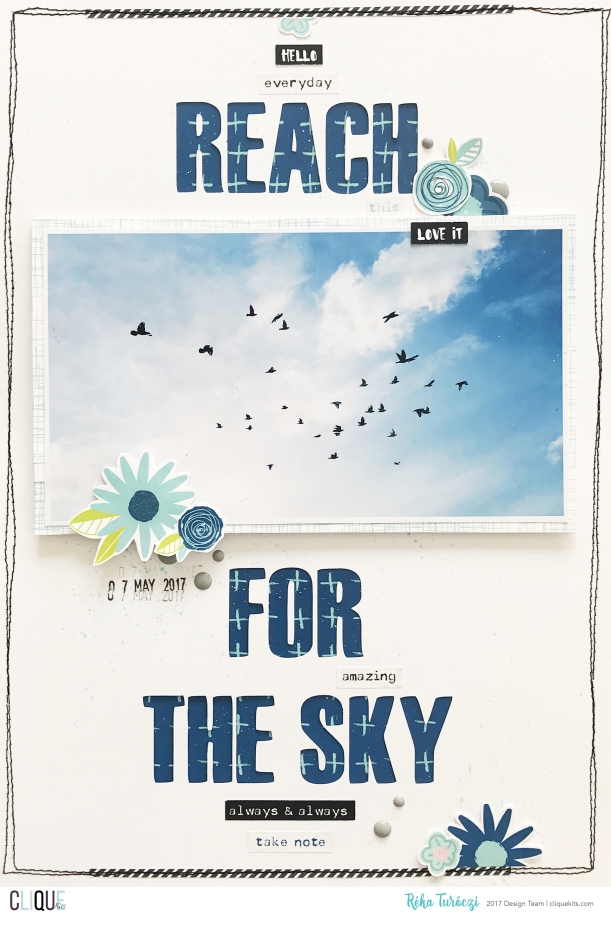
Hi Everyone! Réka here today to share a 8,5”x11” layout I created with this month’s „POOL PARTY” Traveler’s Notebook Kit.

ck-jun17-tnkit2_4_orig

Here’s what I came up with…

1-1

When I saw the very pretty blue paper from Pretty Little Studio: Ain’t Life Grand – 4 x 6 Paper collection I knew I would like to use for my next page and my pigeon’s picture is perfect for it.

I’ve edited the ’Reach for the sky’ title with the Silhouette Studio program and after I’ve cut it out of the white cardstock and I’ve backed it up the blue paper.

2

I’ve also added some word stickers from Pretty Little Studio: Ain’t Life Grand collection. I really loved to use these cute word stickers which it have completed my main title. When it was ready I’ve also splattered some green watercolour with my brush on the page.

3-2

The fussy cut flowers and the enamel dots were used to create a little clusters on the left and the right side of the photo.

3

I wanted to make my page excited a bit in that way I made the photo flipable and one more photo was added on the page.

4

I’ve decorated it with some element from the September’s printable file.

6

Some machine stitching and the date were the finishing touches to complete my layout.

5

I hope you enjoy my layout and thanks for stopping by! Have a wonderful crafty day! See you soon! RĂ©ka


1 Comment

Geek Lab: Me

Hi everybody. Nicole here with a layout I created using goodies from the shop! If you haven’t been to the shop, you might want to take a look. We have some fabulous product marked down! And yes, everything used on this layout is available in the shop, but hurry because they might not be available for long.

For this layout, I decided to use the Pink Paislee “Cest La Vie” paper pack, acetate alphas, stickers and Jillibean Soup’s vellum foil tag.


I really like the patterns in the acetate paper that comes in the paper back so I decided to use the vellum tag to cut part of the patterned from the acetate paper to layer on the tag. I must say, it looks so pretty!

I cut several pieces of patterns, sentiments, shapes from the cut-apart paper and acetate to use as die cuts for this layout since I did not have any on hand.

I love patterned paper because the possibilities are endless. You can mix patterns to create a fun background for your layout, cut the paper into a patterned using a Silhouette or cut bits and pieces/sentiments from the patterns to use as die cuts for your layout.


Before adhering the acetate embellishments to your layout,, make sure you peel the plastic film off… Let me just say, I did not…

Thanks for visiting today. Be sure to check out the shop today for some great deals!

-Nicole


5 Comments

Study Hall — MY GIRLS

Hello Clique Kits fans!!

Hope you all are getting lots of inspiration from all the beautiful projects created with the beautiful Aquarelle Kit.   This month’s  kit is gorgeous, and it features the beautiful “Wild at Heart” collection from Cocoa Vanilla Studio.   You want to get your hands on this kit!

june kit


I was drawn to all the watercolor floral designs from the collection, and knew that i would be fussy cutting a large number of them for one of my projects.   For this layout, I  chose to document one of the many pictures of our Mother’s Day weekend by creating a large shaker element, and framing it with flowers and exclusive printables from this month’s Aquarelle main kit.  So sit down, and enjoy the video on how this layout came together:


I chose a large picture with lots of negative space for this layout.   First I created  a shaker element, by stitching together a circle of light pink/coral cardstock, a same size vellum circle, and the outline of the circle (made of white cardstock) together.   Before closing the shaker element, a bit of the Sorbet Kit sequin mix was added to the inside of the  pocket, especially the large flowers in the sequin mix.


CK_NATHALIE DESOUSA_JUNE2017_MYGIRLS-4


The Cocoa Vanilla Studio’s “Artisan” paper serves as the base for this layout.   A little bit of white acrylic paint behind the shaker element helps bring out the colors in the sequin and the flowers that frame the picture.


CK_NATHALIE DESOUSA_JUNE2017_MYGIRLS-5


CK_NATHALIE DESOUSA_JUNE2017_MYGIRLS-6


To frame the picture, and the shaker element, floral designs were cut from the “Patchwork”, “Luscious”, “Memento” papers (all included in the main Aquarelle Kit), and then glued behind the pocket circle and the large picture.


CK_NATHALIE DESOUSA_JUNE2017_MYGIRLS-3


I took advantage of the many exclusive printables included in the  Aquarelle kit, as well as the “Fussy Cuts” page to add small clusters around the picture.


CK_NATHALIE DESOUSA_JUNE2017_MYGIRLS-7


The Pinkfresh Studio Alphas included in the Aquarelle kit are so easy to incorporate to all types of projects.  Since there is a large white space in the picture, the title was glued straight on the picture right at the larger floral cluster.  A small fussy cut butterfly from the “Mariposa” paper completes the title.   After adding the journal lines, a few gold ink splatters complete this project.  Here is the final layout:


CK_NATHALIE DESOUSA_JUNE2017_MYGIRLS-2


Don’t you just love all the colorful florals in this month’s Aquarelle kit?  Oh, I am in love with this kit ( and I think, tears were shed when I fussy cut the papers, they are just too beautiful!!).  Remember there is only a few kits left for sale at the Clique Store, so run to the store to get one of the kits.

I am always a comment away if you have questions on how this came together.


See you all soon!!

CK_DT17-headshots-Nathalie


4 Comments

Yearbook – Favorite Cupcake

13708352_10206587466700644_3123589168410663782_o

Hello Everyone! Here is Réka again. Today, I’m sharing my projects using the beautiful Sorbet Main Kit. My favorite parts of this kit are the puffy stickers, the die cuts, the buttons, the papers … All right, OK, well… the truth is I love the whole kit.

ck-may17-kit-1_1_orig

Do you know that every Clique Kit contains exclusive digital printables, don’t you? This month Maryám designed the wonderful printables which you can find here. This time I’ve printed it on the vellum paper and I really love the outcome. This idea comes from Gia.

Now let us see my layout! I’ve chosen a photo about my homemade cupcake and I wanted to document this memory because it was the first time when I’ve used carrots for cupcakes and the result was really delicious. The cupcake is my favorite type of cake that’s why I’ve decided to put FAVORITE word on my layout, from Pretty Little Studio, this arrived with the kit together. I ’ve also used some puffy stickers and die cuts from Pinkfresh Studio. Additionally, some pieces of the vellum printable, enamels and labels and one button also have gone to my layout.At the end, I’ve added some yellow mists and my layout is done.

1

My first thought was to put the recipe of the carrot cupcake below the photo, but it was to long. And at that moment a new idea just came to mind, I would put this layout in my yearbook so I’ve started to create the second page for the receipt.

Firstly, I’ve printed the recipe of the carrot cupcake on the white cardstock. The recipe is in Hungarian which is my native language. Then I’ve added some pieces of the same patterned paper which was the base of the other layout and a few stickers, enamels and yellow mists. For the title I’ve used the alphabet stamps set from Latina Crafter who is the sponsor of this month’s challenge. You can find more information about the monthly challenge here. Both of two pages I was stitching a little bit with yellow thread which is my favorite technic on the layout. Let’s see the next page.

2

Here are some close-ups.

3

4

5

Finally here are the two pages together.

6

Hopefully, I managed to inspire you to document your favorite recipe. Thanks for stopping by and have a wonderful crafty day. See you next month.

RĂ©ka

CK_DT17-headshots-Reka (1)


5 Comments

Art Studio: Amazing view

Hello friends! Maryám here again to share another layout using the April 2017 kit. If you want to get this kit, just click here, we still have a few left.

For this layout, the first thing that I did was cut a cut file on my Silhouette Cameo. Then I took my watercolors and I used the “packaging” tecnique to do some big watercolor splatters of pink and yellow color.

After that, it’s time to do the funniest part, yes! Embellish the page. I put some flowers, stamped a instax camera from an Altenew stamp that I got from the shop, added some enamel shapes and some stickers from Freckled Fawn.

And for the cut file, I backed it with one of the project life cards that I designed for the kit, with vellum paper, and also with one of the Paige Evans paper.

Here is the result:

Here are some close-ups:

For the title I used one of the words from Freckled Fawn, and the white alpha from Elle’s Studio, but as you can see it’s not white, that’s because I painted it with a gold pen from one of our previous Traveler’s Notebook kit.

I hope you liked this layout. If you have any questions about this project just let me a comment below. Thanks for stopping by!