Clique Kits

Click. Connect. Create.


10 Comments

Art Studio – Water Color Designing

blog-image_art-studio

Hello CK fans, It’s Leeann with you today and I’m super excited to be here too. I love using watercolors  on my creations. You will notice splashes of color from some sort of medium on my pages always! This page was created using the Clique kit  November tapestry kit. This kit is just so delicious and I was sold as soon as I saw the color navy… right now I am in love with that color! So lets get our watercolors out and have a wee play.

CKNOV_lpearce_ARTSnov3

Lets start with a blank piece of card stock and paint some random circles using our water colors. We want 3 colors and 3 sizes. Allow to dry and cut out.

CKNOV 015

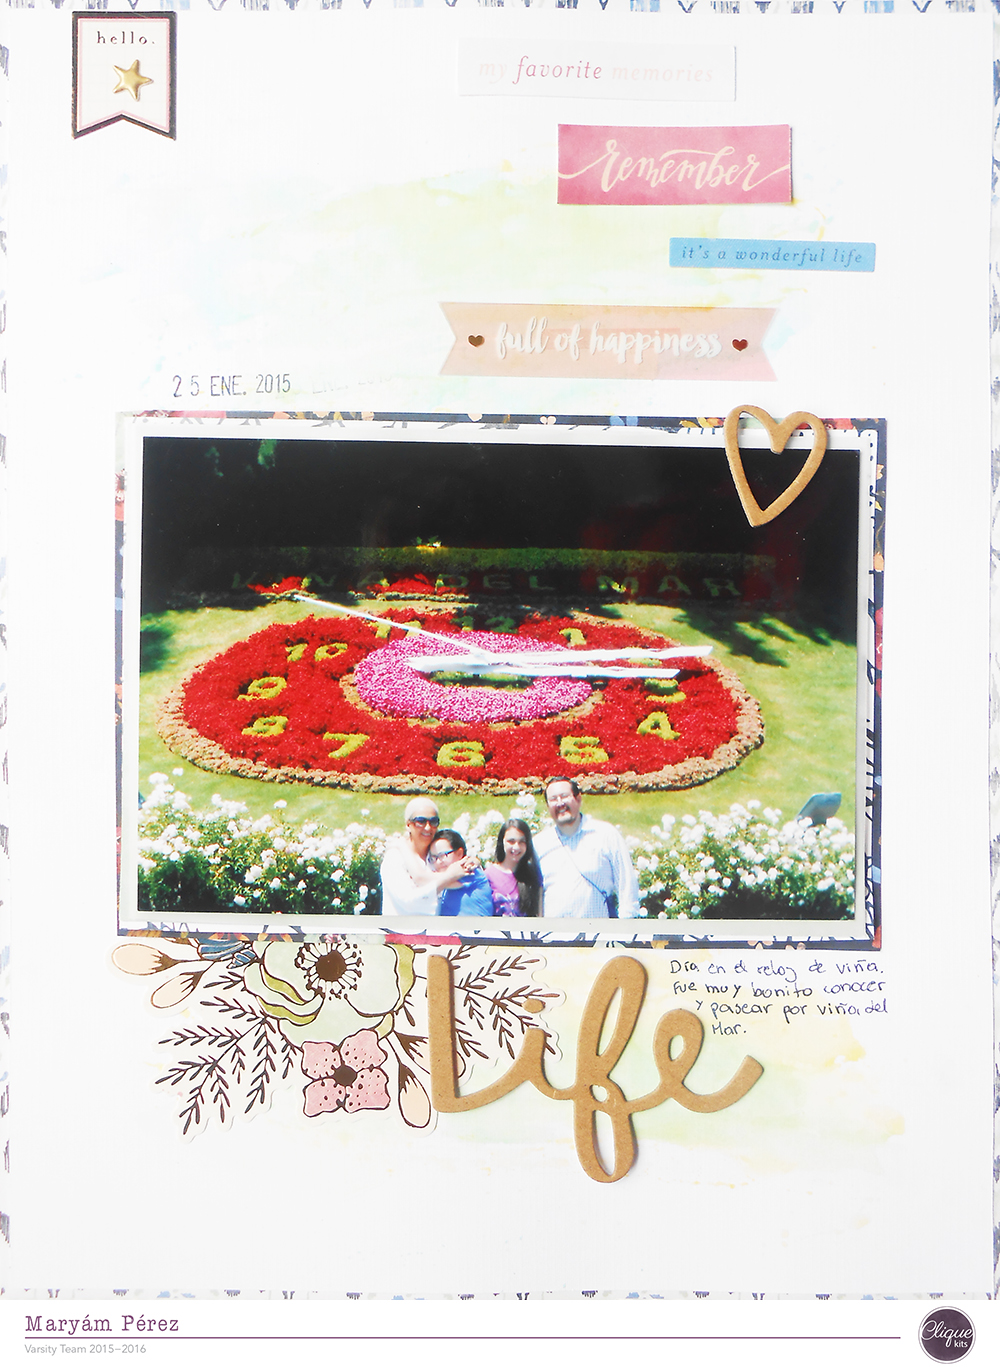
I have scrapped my page onto a black piece of white cardstock. So lets start with that as the base. All you have to do is paint lines down one side of the cardstock. Allow each line to fade before dipping back into the paint. Once you are happy with your painted lines. Place the circles on your page. Now we want to blend the colour from circle to lines and create a spill pool, add a few flicks of watercolor too. Allow to dry.


CKNOV 019

For extra detail grab some stamps and ink, stamp randomly. This adds extra detail.

CKNOV 023

Once everything has dried. Scrap your page. Isn’t it so much fun adding mediums to your pages. I like that it’s totally up to you how heavy or light you want to go. This is a great way to start out if this is your first time using mixed media products. And remember there is no right or wrong way…its all about having fun and telling the story!

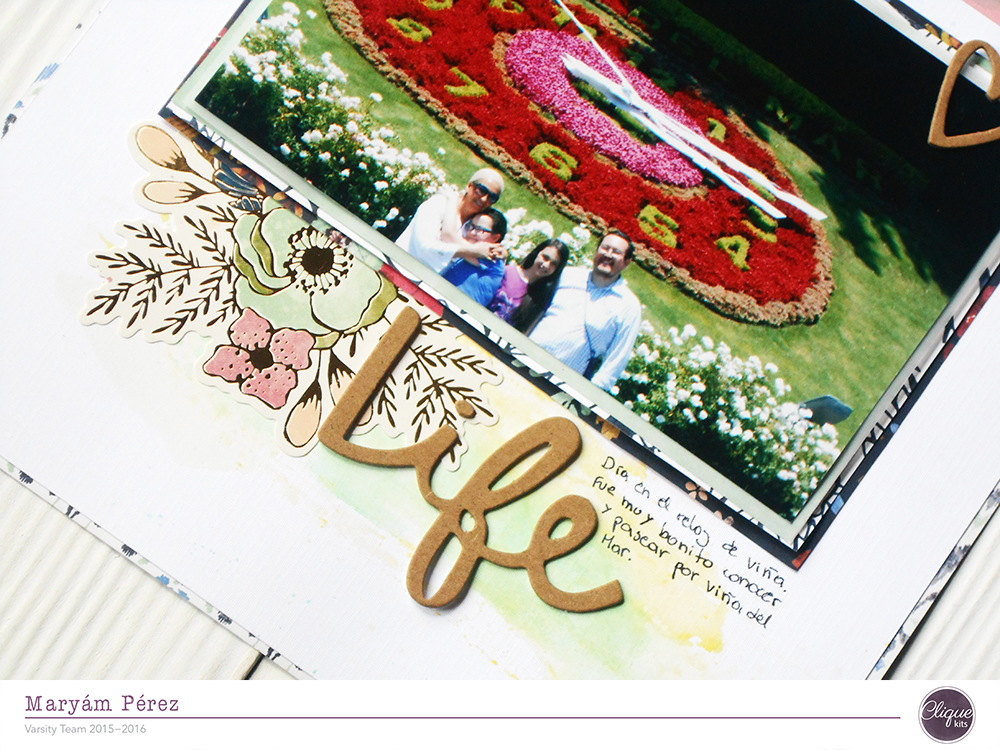
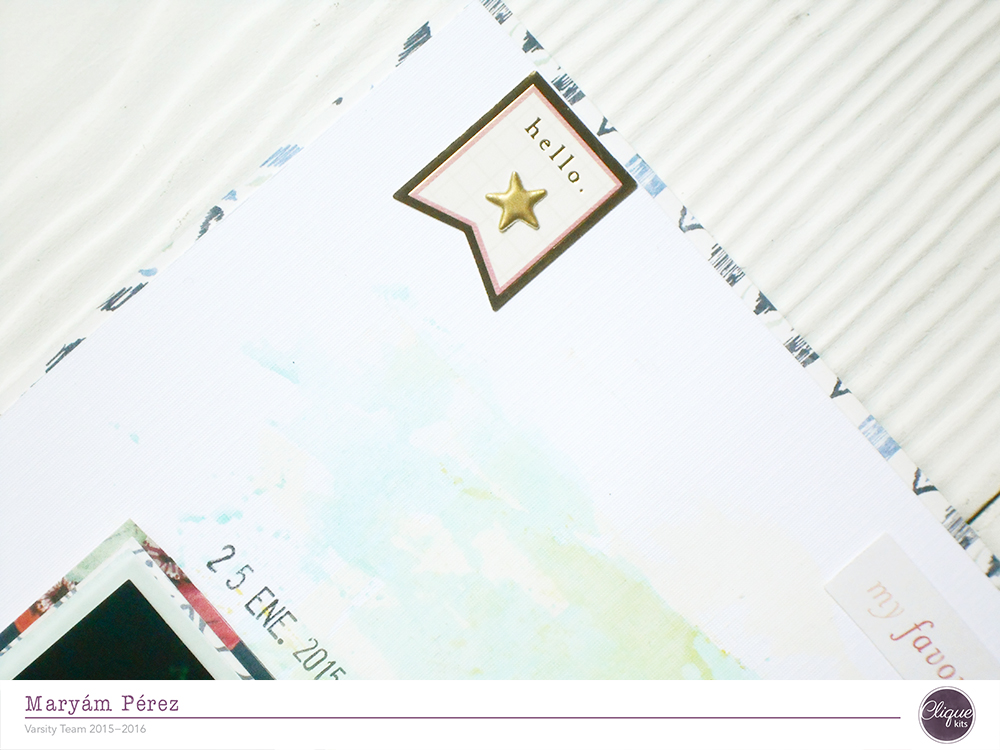
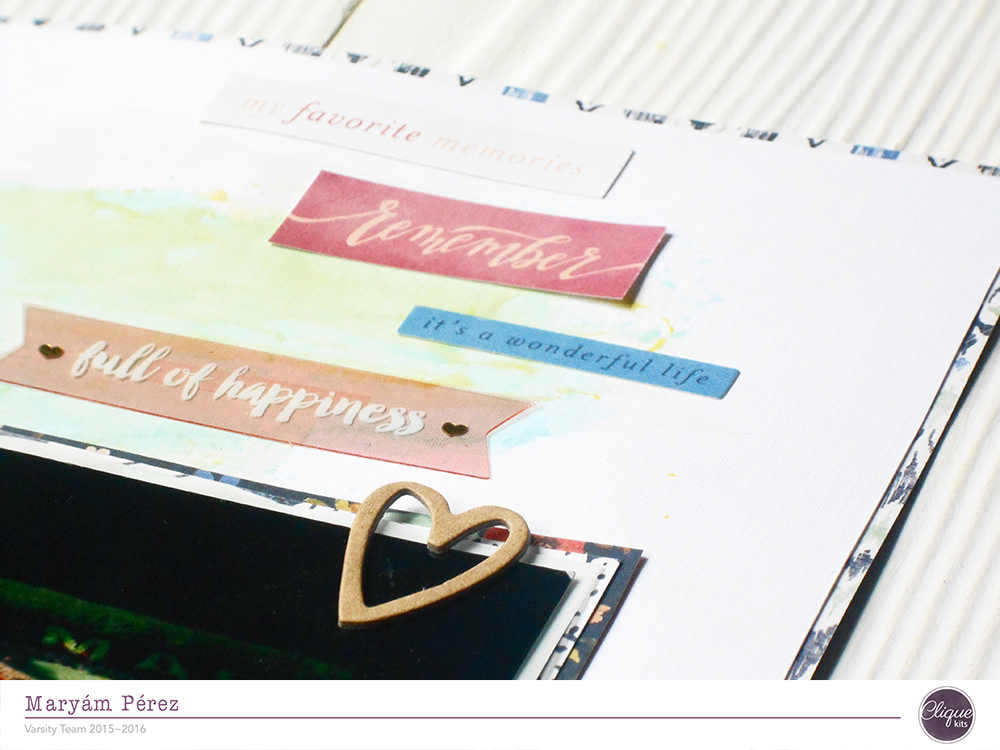
Now you can check out the finished detailed shots.

CKNOV_lpearce_ARTSnov3detail1

CKNOV_lpearce_ARTSnov3detail2

I hope you have fun here today and come back soon for so more…

CK_DT1516_Siggies_Leeann


13 Comments

Art Studio: Life

blog-image_art-studio

Hello everyone, Maryám here!!! I am so excited  beacuse this is my first post in the Clique Kits Blog. 😀 Today I’m sharing with you a layout that I’ve created with the November Tapestry kit.

mperez_Nov15_lifelayout

For the title I used Amy Tangerine Words Thickers available in the Clique Kits Store, and I used watercolors and gesso to create a background, it’s super easy to work.

mperez_Nov15_lifelayout2

I’m in love with the We R Memory Keepers – Wildflower Stickers, I think this is my favorite thing of the kit hahaha.

mperez_Nov15_lifelayout3

mperez_Nov15_lifelayout4

If you want to see the process video of this layout, click here.

Thanks so much for stopping here! I hope you liked my post. 🙂

CK_DT1516_Siggies-_Maryam


24 Comments

Locker Room – Embellishment Cluster

blog-image_locker-room

 Hello CK fans its Leeann and I’m excited to be here today to share one of my pages with you. Using the November Tapestry Clique kit. I have a massive love for embellishments they make me squeal, it’s like looking at yummy  candy, but you cant eat these ones.   Today’s post is about creating  layered mats  for your photos and journal cards and also embellishment clusters. This is something that I love doing and you will notice I layer/mat my photos alot. So lets take a wee peek at my page and then get started on the process.


CKNOV_lpearce_oct22LROOM

Lets start with grabbing some photos and designing a four square. In this first pic,  you can see that I like to layer paper and create photo mats.  I do the same for ready to go journal cards.

CKoct22_lp_lrooma

 This next pic shows you that I like to add detail, with some machine stitching.

CKoct22_lp_lroomb

Once you are happy making all your layered mats for photos and journal cards adhere together.

 CKoct22_lp_lroomc

Next we are creating a punched out mini circle grid for our embellishment cluster. Once you are happy with the  design glue the circles down.

CKoct22_lp_lroomd

And just a quick tip while I am here. Always look at the packaging, products come in such cute packaging these days that you can use them on your creations. Here you will notice I snipped the end of the flair packaging.

CKoct22_lp_lroome

And I layered that piece under one of the photos, creating a tab.

CKoct22_lp_lroomf

As you can see in this detailed shot I filled each of the punch out circles with twine, flair, printables, tabs, tickets, butterflies, cork heart, paper arrow, buttons etc. See, I told you eye candy right there!

CKNOV_lpearce_oct22LROOMdetail1

And in this detailed shot layers under and also on the top.  Be creative in your layers at the top by cutting them into shapes. That way you still can add your journaling.

CKNOV_lpearce_oct22LROOMdetail2

I hope today was fun and has given you a fresh look on creating clusters of embellishment. Next time you have a handful of scrappy candy create a shape and embellish it! Thank you and I look forward in seeing you again!

CK_DT1516_Siggies_Leeann